Color Drenching Small Spaces: 2026's Boldest Paint Trend
Color drenching paints walls, ceiling, and trim all one color. Searches are up 325% on Houzz in 2025. Here is how to pull it off in a small space.
When Zillow analyzed millions of home listing descriptions, it found mentions of "color drenching" shot up 149% year-over-year in 2025 (Zillow, 2025). That's not a blip. That's a shift. And honestly, after trying it in my own apartment, I get why everyone's obsessed.
Color drenching means painting every surface of a room one single color: walls, ceiling, trim, door frames, even the radiator. No accent walls, no contrast, just one bold unbroken color wrapping every inch. It sounds intimidating in a small space, but the results can be stunning. Done right, it transforms a compact room from a boxy afterthought into something that feels intentional and full of personality.
In this guide, I'll walk through what color drenching actually is, how it affects small room perception, which colors to pick for 2026, and a step-by-step approach so you can pull it off without second-guessing yourself.

TL;DR: Color drenching (painting walls, ceiling, and trim all one color) is 2026's top interior trend, with searches up 4x on Houzz and 149% in Zillow listings. It works in small spaces by eliminating visual contrast between surfaces. Best entry-point colors: sage green or smoky jade. Use flat paint on walls and eggshell on trim for depth without breaking the monochromatic effect.
What Is Color Drenching, and Why Is Everyone Talking About It?
Searches for "color drenching" on Houzz increased by over 325% in early 2025 compared to the same period in 2024 (Houzz 2025 U.S. Emerging Summer Trends Report). Alongside that, cool color schemes grew 3x and monochromatic color schemes grew 2x in the same window. This appetite for unified, bold color is real, and it's not slowing down.
Color drenching isn't a new invention. High-end designers and grand European estates have used it for decades. What's changed is that it's moved out of formal dining rooms and into regular apartments. The technique is simple to describe: you pick one paint color and apply it to literally everything in the room. Walls, ceiling, trim, door frames, skirting boards, built-ins, radiators. No surface is left a different shade.
Here's what most articles get wrong about the technique. Color drenching isn't just about using a bold color. It's about eliminating contrast between surfaces. That's the actual mechanism. When your walls are white and your ceiling is also white, your eye still reads them as separate planes because the light hits them differently. Color drenching removes that. The room reads as a unified whole, not a collection of separate surfaces shouting their dimensions at you.
Farrow & Ball, one of the brands most closely associated with the technique, recommends their Dead Flat finish (2% sheen) specifically for color drenching across all surfaces (Farrow & Ball Design Guide). They suggest a slightly higher sheen on trim and doors to add quiet depth without introducing new colors. That detail matters more than the color itself, and I'll come back to it.
Does Color Drenching Really Work in Small Spaces?
The short answer is yes, but not in the way most people expect. Research published in the International Journal of Science and Research Archive in 2024 confirmed that lighter colors create a visual illusion of openness while darker colors create a sense of enclosure and intimacy (IJSRA, 2024). Color drenching in dark tones doesn't make a small room feel "bigger" in the traditional sense. It makes it feel deliberate and immersive instead.
This is where small-space design thinking needs to shift. The goal isn't always to fake square footage. Sometimes the goal is to make 350 square feet feel like a room with a personality rather than an apology. Designers call this the "jewel box" effect: a compact space that feels rich and complete, not cramped and lacking.
I tried this in my hallway first. It's about 4 feet wide and 8 feet long, a pretty uninspiring stretch of wall. I color-drenched it in a deep terracotta, walls and ceiling together. The result was that it stopped feeling like a corridor and started feeling like a deliberate room. Guests actually comment on it now. That's what the jewel box effect looks like in practice. The room stops apologizing for being small and starts owning it.
The psychological mechanism behind this is contrast elimination. Normally, when your walls meet your ceiling at different colors (even just wall-white vs. ceiling-white with a trim break at the junction), your eye traces those edges. In a small room, tracing those edges constantly reminds you of the room's boundaries. Remove the color break at the ceiling line, and the eye loses the boundary reference. The room stops announcing how small it is.
Which Colors Work Best for Color Drenching in Small Spaces?
Every major paint brand's 2026 Color of the Year points in the same direction: deeper, warmer, more saturated. Benjamin Moore chose Silhouette AF-655 (a warm charcoal with burnt umber notes), Farrow & Ball chose Naperon No. 315 (peachy terracotta clay), and Behr chose Hidden Gem (a smoky jade green). That's not a coincidence. The industry is responding to real demand for rooms that feel immersive and considered.
Here's what I've found works in small spaces specifically, and what doesn't:
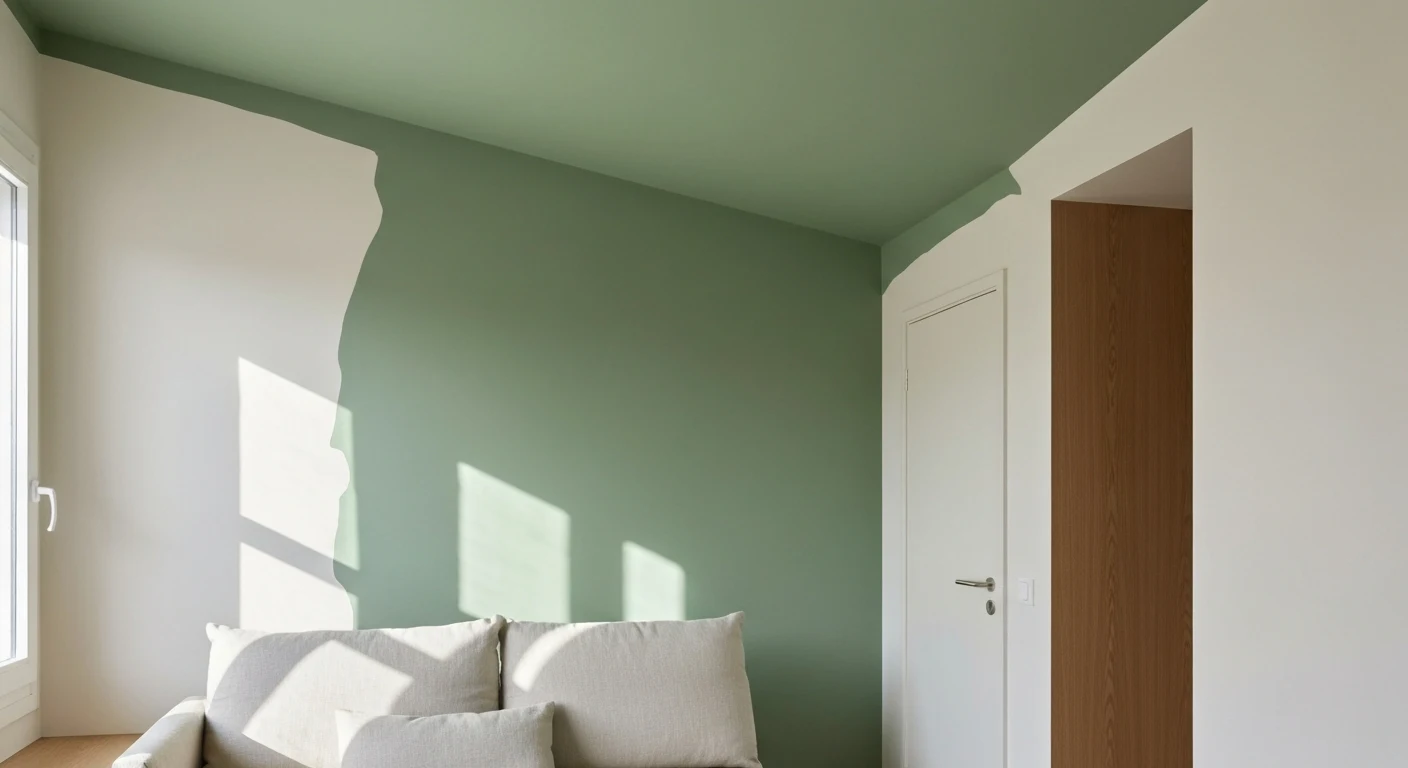
- Sage and muted greens: The easiest win. Greens feel fresh, biophilic, and soft enough to live with across different lighting. Behr's Hidden Gem (smoky jade) and Valspar's Warm Eucalyptus are both excellent starting points. In a 2025 Behr survey of 1,000 U.S. adults, 66% said Hidden Gem would create a sense of peace in their home (Behr, 2025).
- Warm terracotta and clay: Very forgiving. The warm undertones make a small room feel anchored and cozy without going dark. Farrow & Ball's Naperon No. 315 sits right in this territory.
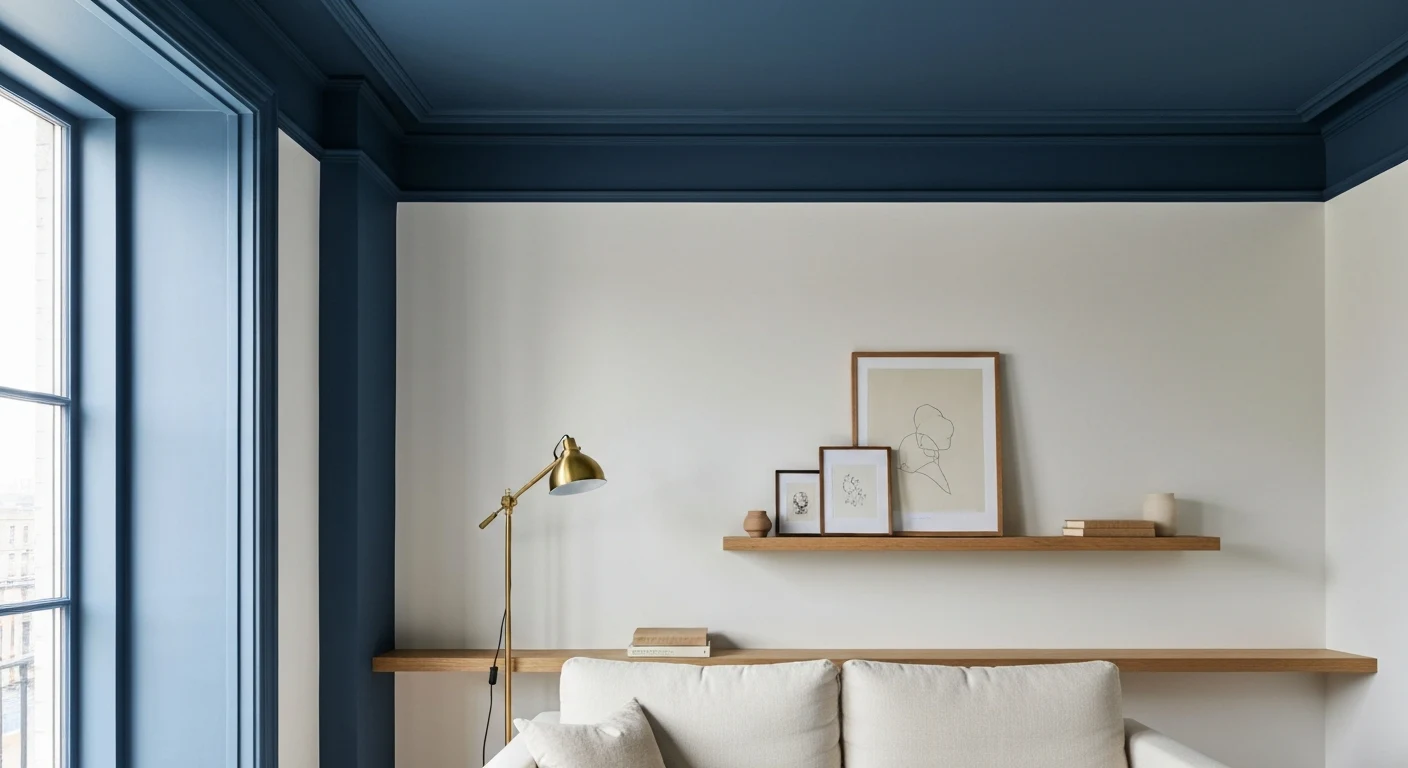
- Deep navy blue: Creates maximum jewel box effect. Works best with warm brass or gold hardware and warm-toned light sources. Don't pair with cool white LEDs.
- Plum and aubergine: In the Apartment Therapy survey of 154 designers, 45% named heathered plum as a top color for 2025. Bold but surprisingly livable when the saturation isn't at maximum.
- Warm neutrals (mushroom, greige, taupe): The beginner's path. Lower commitment, still visually impactful, and reversible without much drama or cost.
One concept worth understanding before you choose: Light Reflectance Value (LRV). Every paint color has an LRV score from 0 (pure black) to 100 (pure white). For small spaces with good natural light, LRV 30-50 is a reasonable range for bold colors. For darker rooms, stick to LRV 50+ or go deliberately dark and lean fully into the jewel box effect. Sherwin-Williams' Universal Khaki has an LRV of 40, sitting right in that versatile middle range.
How to Color Drench a Small Room: A Step-by-Step Approach
The biggest mistake people make is treating color drenching like regular painting. When 66% of designers in the Apartment Therapy survey chose color drenching as the dominant decorating trend for 2026, they were assuming a degree of technical care in the execution (Apartment Therapy, 2025). Get the steps right and the technique carries itself. Skip them and you end up with a room that just looks painted, not designed.
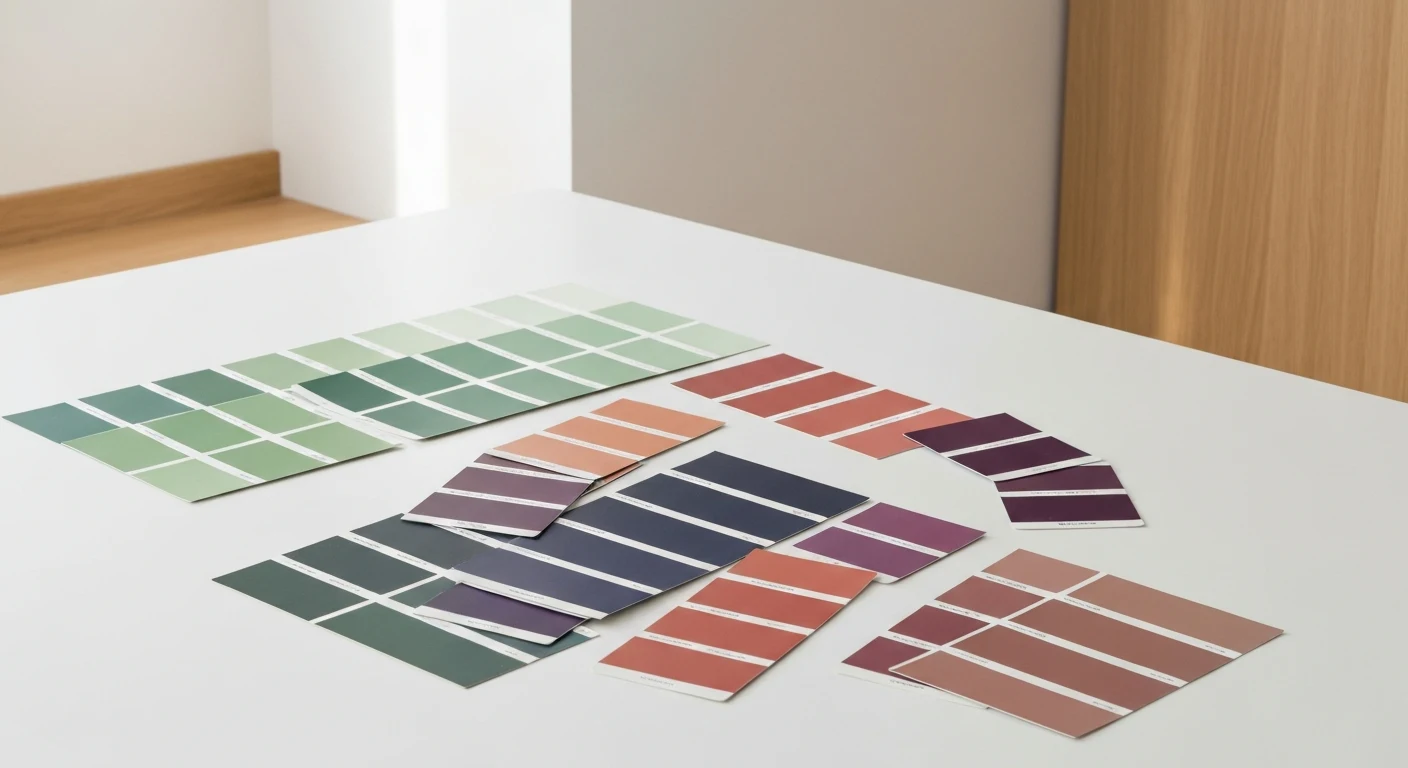
Step 1: Pick your color and test it large. Don't choose from a small swatch chip. Sample pots are cheap, usually under $5. Paint a 12-by-12-inch square directly on the wall you plan to drench and live with it for 48 hours. Look at it in morning light, afternoon light, and with your lamps on. Color behaves completely differently depending on the time of day and your light sources.
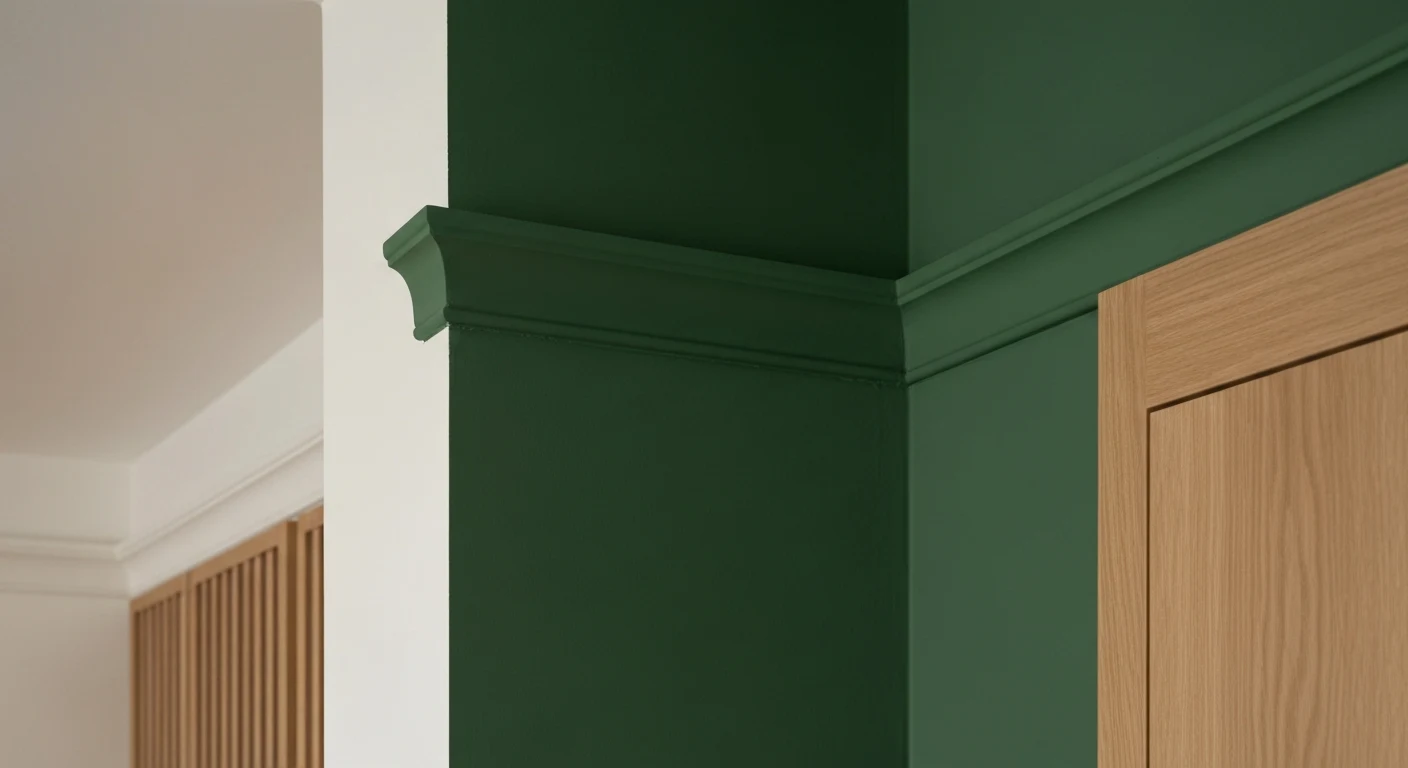
Step 2: Choose your finish strategy. This is the step that separates good color drenching from flat (in the bad sense) color drenching. Use flat or matte paint on walls. Use eggshell on trim and window frames. Use satin on doors. Same color, three different sheens. The variation creates subtle depth and makes the room feel designed rather than just painted. Farrow & Ball explicitly recommends this layered sheen approach throughout their color drenching guide.
Step 3: Prep every surface properly. Color drenching is unforgiving. Because every surface shares the same color, every imperfection becomes more visible. Fill nail holes, sand rough patches, and prime anything that's stained or dramatically different in texture from the surrounding wall.
Step 4: Paint in the right order. Ceiling first, then walls, then trim. If you paint walls first and then do the ceiling, you'll drip onto your fresh walls. The ceiling-first approach means any drips or roller spatter lands on an unpainted surface.
Step 5: Evaluate before adding anything back. Before you move furniture back in, stand in the empty color-drenched room for at least 15 minutes in different spots. The color will look more intense than you expected. That's normal. Give yourself a day before deciding whether anything needs adjustment.
When I first finished my terracotta hallway, I panicked for about two hours. It looked much redder than I'd planned. I put the console table back in, added the mirror, turned on the warm lamps, and it completely transformed. The lesson: never judge a color-drenched room before the furniture and objects are back in place. The color exists in relation to everything around it.
The Finish Trick Nobody Mentions
Varying sheens within the same color is one of those things that sounds counterintuitive until you see it in person. Most people assume the whole point of color drenching is uniformity. That's true for hue. It's not true for finish.
A flat-paint wall absorbs light, making the color feel softer and more matte. An eggshell trim reflects a tiny bit more light. A satin door reflects more still. Because the color is identical across all three, the finish difference reads as shadow and depth rather than color contrast. Your eye notices something is different but can't pinpoint what. That ambiguity is exactly what makes a room feel layered and considered rather than painted in a Saturday afternoon.
Farrow & Ball developed their Dead Flat formula (2% sheen) specifically for color drenching. It's not a finishing coat they added to their range by accident. It's designed to be the ground-level finish in a color-drenched room, with their Eggshell and Full Gloss above it on trim and doors. If you're using more accessible brands, a flat latex on walls with eggshell in the same color on trim achieves a very similar result for considerably less cost.
Color Drenching by Room: What Works Where
Not every room responds the same way. Here's what I'd recommend for the small spaces most people are working with:
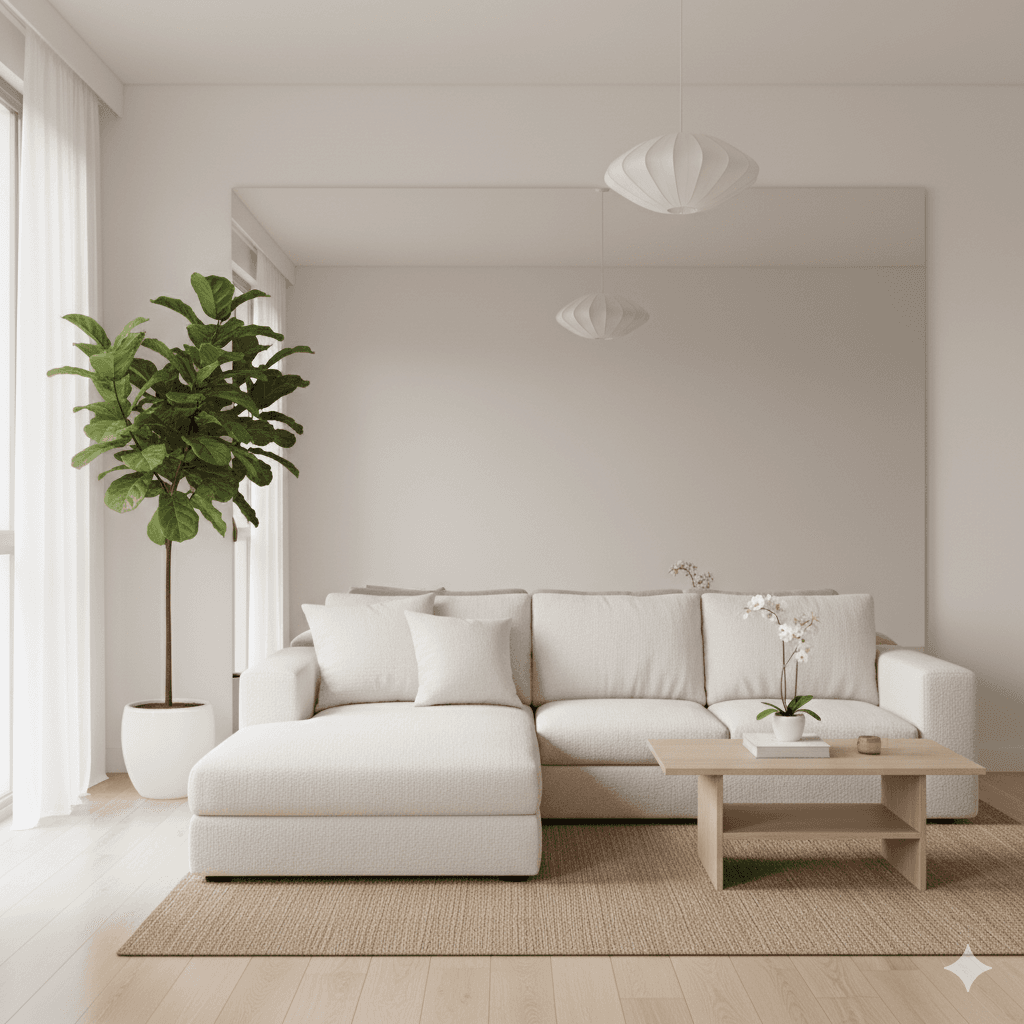
Living room: The best candidate for most apartments. A color-drenched living room in deep navy or sage green feels intentional and creates the strongest jewel box effect. Pair with warm metal accents and natural textures like wool, linen, and wood to prevent the look from feeling flat. If you want to sort out furnishing a small living room first so you know what colors your furniture will work with, start there before picking paint.
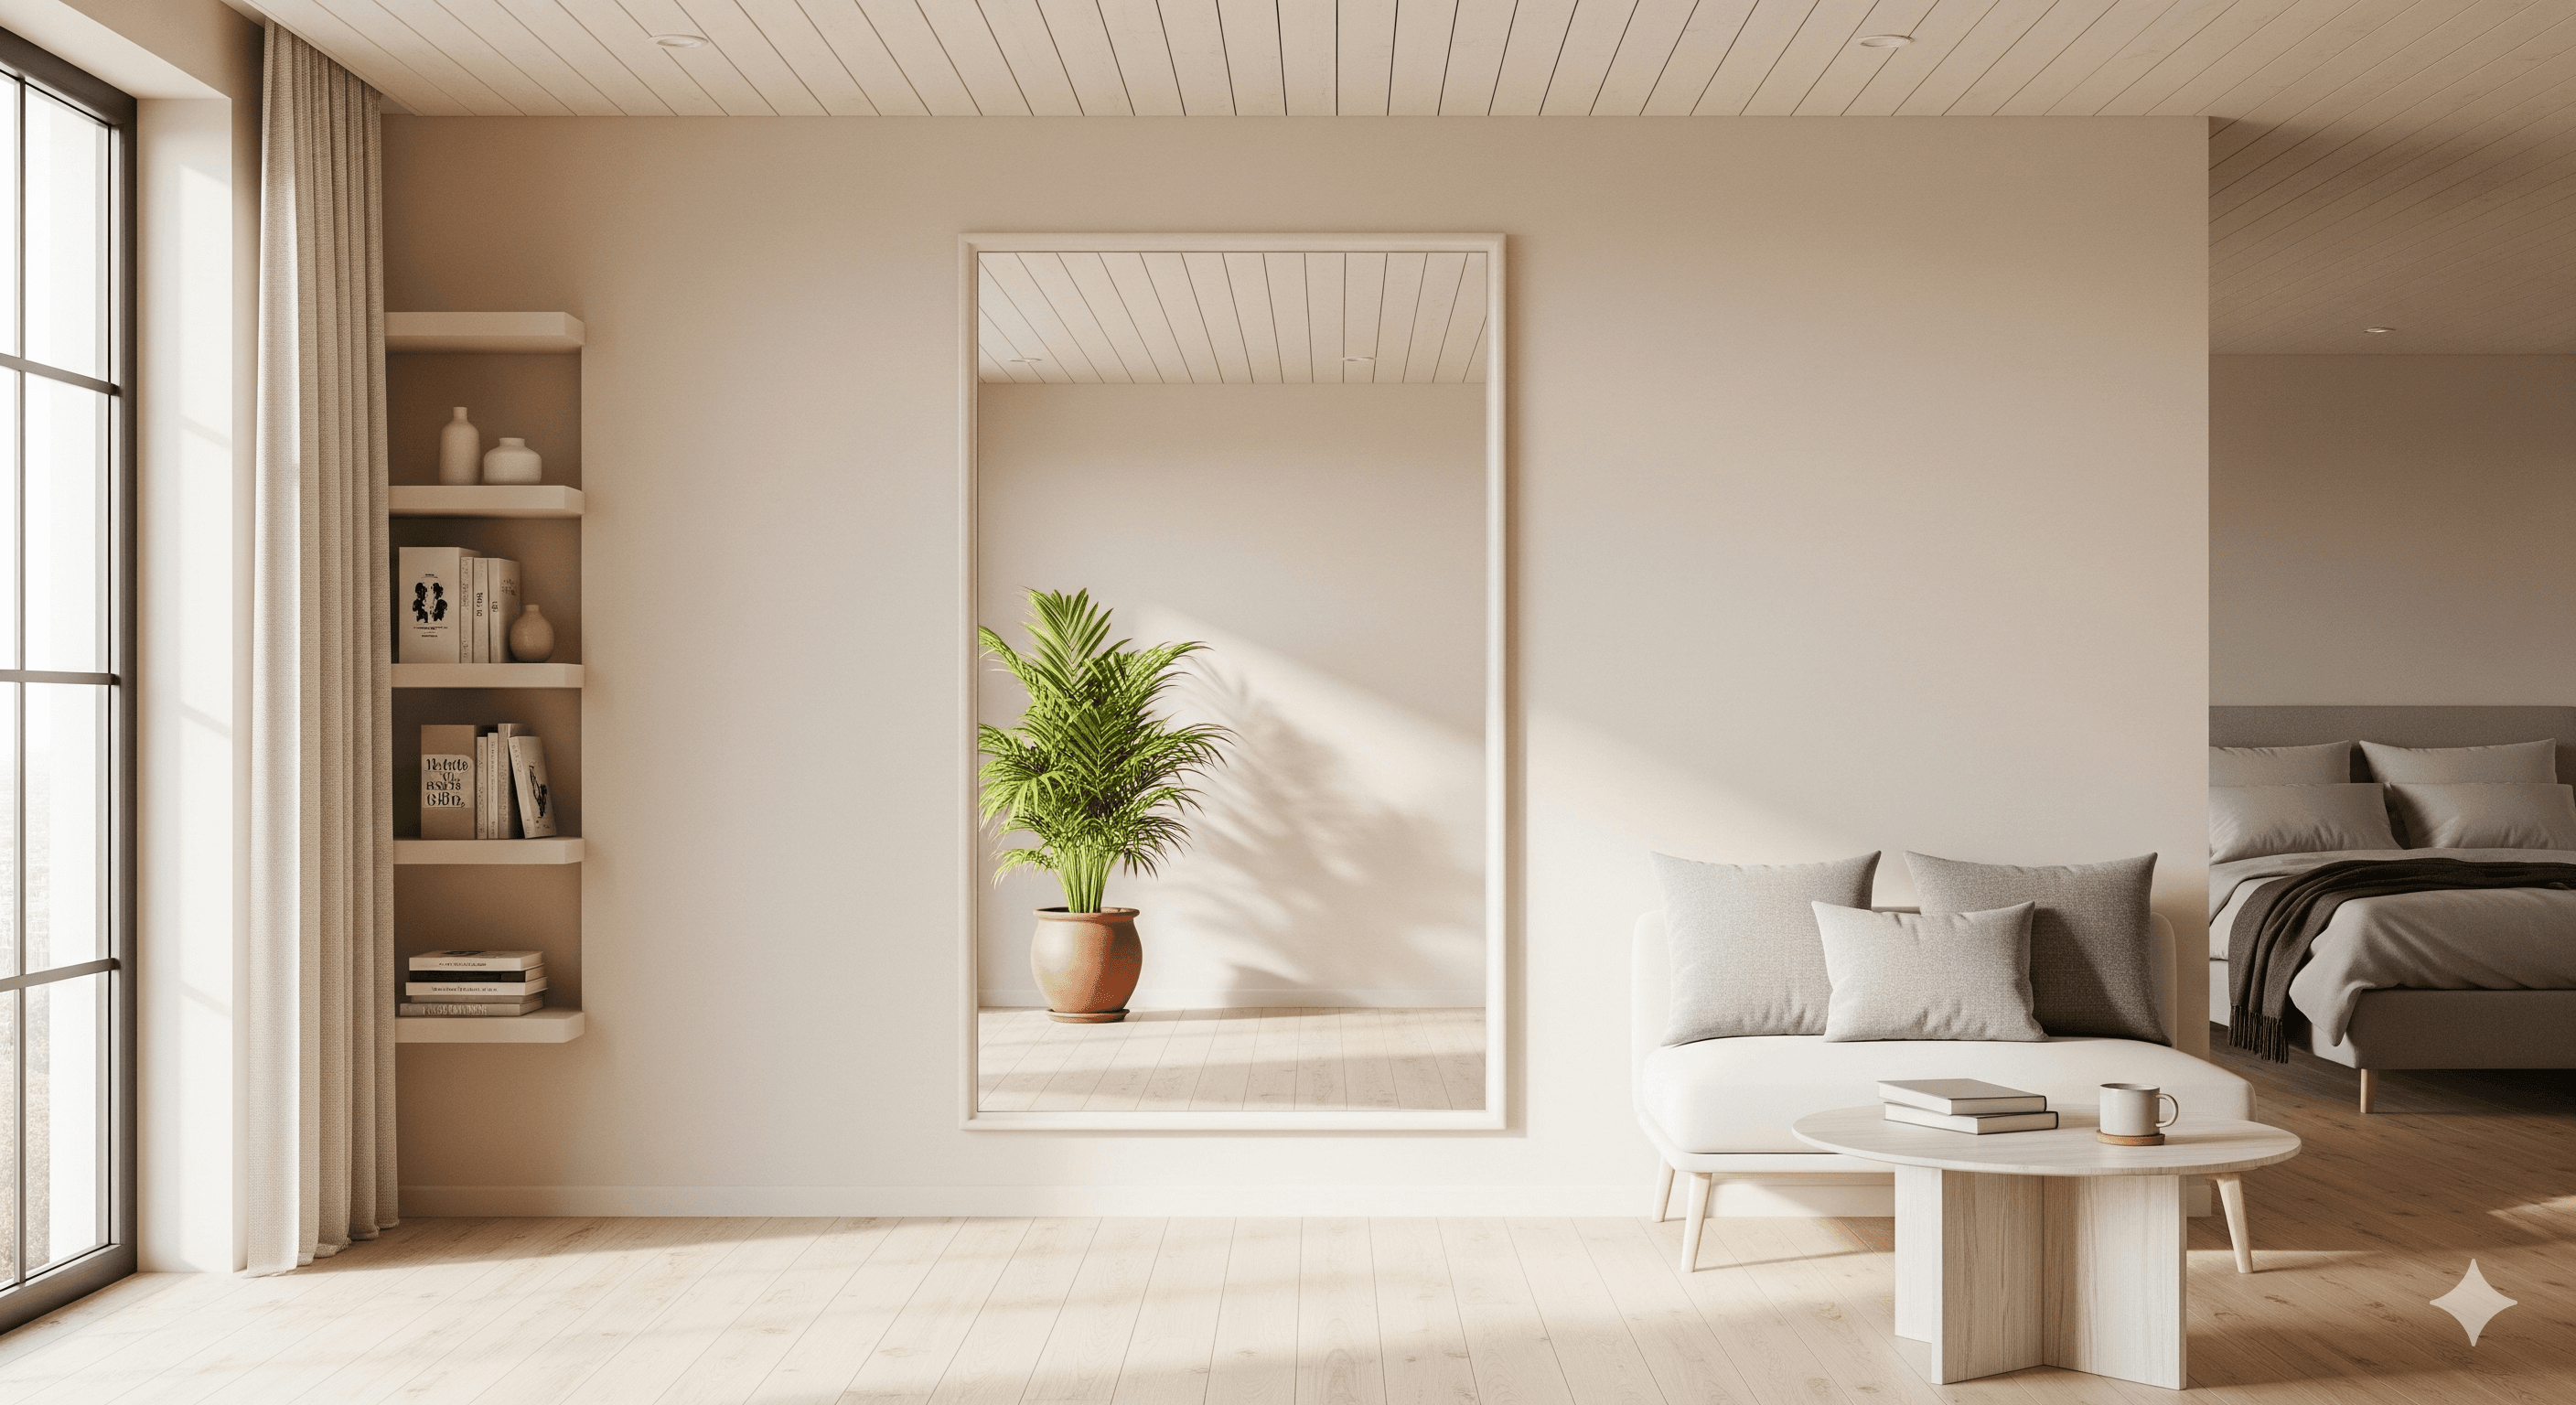
Bedroom: Terracotta and warm plum colors work particularly well here. The enveloping nature of color drenching makes bedrooms feel cocooning and restful rather than closed-in. If you're planning a small bedroom refresh, color drenching is often more impactful than any furniture change you can make at the same cost.
Small bathroom: An underrated candidate. Bathrooms have lots of hard surfaces (tile, walls, ceiling, trim) and are often low on natural light. Going all-in on one deep color makes them feel like a deliberate spa rather than an afterthought. Our small bathroom decor guide has ideas for layering accessories without clashing with a bold painted backdrop.
Kitchen: Proceed with more caution here. Kitchens are full of hard, reflective surfaces that interact with color unpredictably. If you try color drenching in a kitchen, focus on walls and ceiling and leave lower cabinets in a coordinating shade rather than identical color. The small kitchen decorating guide covers how to approach kitchen color without overwhelming the space.
Hallways and entryways: My personal favorite starting point. A narrow hallway becomes a feature rather than a pass-through. It's also the lowest-risk room to try color drenching first because any mistakes are contained and relatively quick to repaint.
Before You Start: Calculate Your Paint Correctly
Color drenching uses more paint than a typical single-room paint job because you're covering the ceiling, trim, and doors in addition to walls. A 12-by-12-foot room at standard ceiling height might need two coats on five surfaces instead of four, which can easily add 30-40% to your total paint estimate. Before you buy, check the complete paint quantity guide to calculate accurately and avoid the awkward mid-project trip back to the paint counter when you run short.
Frequently Asked Questions
Will color drenching make my small room look smaller?
It depends on the color value and your intention. Darker colors create a cocooning, jewel-box effect rather than the illusion of more space, while lighter values can feel airy and open. A 2024 color psychology study confirmed that darker colors create deliberate enclosure and intimacy (IJSRA, 2024). For small rooms, this isn't a failure. It's often exactly the desired effect.
Do I have to include the ceiling in color drenching?
Technically no, but including the ceiling is what creates the full immersive effect that makes color drenching distinctive. If you leave the ceiling white while painting walls in a bold color, you've created a bold single-wall situation rather than true color drenching. The ceiling-to-wall transition is where the most dramatic perceptual shift happens in small spaces, because that's where the eye normally traces the room's boundaries.
What's the easiest color to start with?
Sage green or a muted warm neutral. Sage green is forgiving across different lighting conditions, reads as fresh rather than heavy, and pairs with most furniture tones. Behr's Hidden Gem (smoky jade) and Valspar's Warm Eucalyptus are both approachable 2026 options. About 66% of Americans in Behr's 2025 survey said Hidden Gem would create a sense of peace in their home, making it a good starting point for first-timers (Behr, 2025).
Can I color drench a rental apartment?
You can if your lease permits painting, though most leases require repainting to the original color before you leave. If painting isn't an option, there are renter-friendly approaches like removable wallpaper on two walls, large-scale wall hangings, and oversized area rugs that create an enveloping effect through color without touching the walls. For more on decorating without painting, the windowless room decorating guide covers many of the same color-layering techniques.
How is color drenching different from just painting a room one color?
The distinction is surface coverage and contrast elimination. A standard painted room typically has one color on walls, a white ceiling, and white or contrasting trim, which creates multiple visual interruptions that box in the room. Color drenching covers all surfaces in a single hue, including the ceiling and all trim. Searches for this specific technique grew 325% on Houzz in 2025 alone (Houzz, 2025), suggesting most people recognize it as something distinctly different from standard painting.
Where to Go From Here
Start with a hallway or a bedroom rather than your main living space. Hallways are low-risk, easy to repaint, and the results are immediate. Pick a color with an LRV between 35 and 55 if you're uncertain about going full dark. Use the layered sheen approach on your first attempt: flat walls, eggshell trim. It costs nothing extra and makes a real difference in how professional the result looks.
And before you reach for white for the seventh time, consider that mentions of color drenching in real estate listings jumped 149% in a single year. People are walking into color-drenched rooms and choosing to buy those homes. Your small space deserves a color that makes it feel designed rather than defaulted.
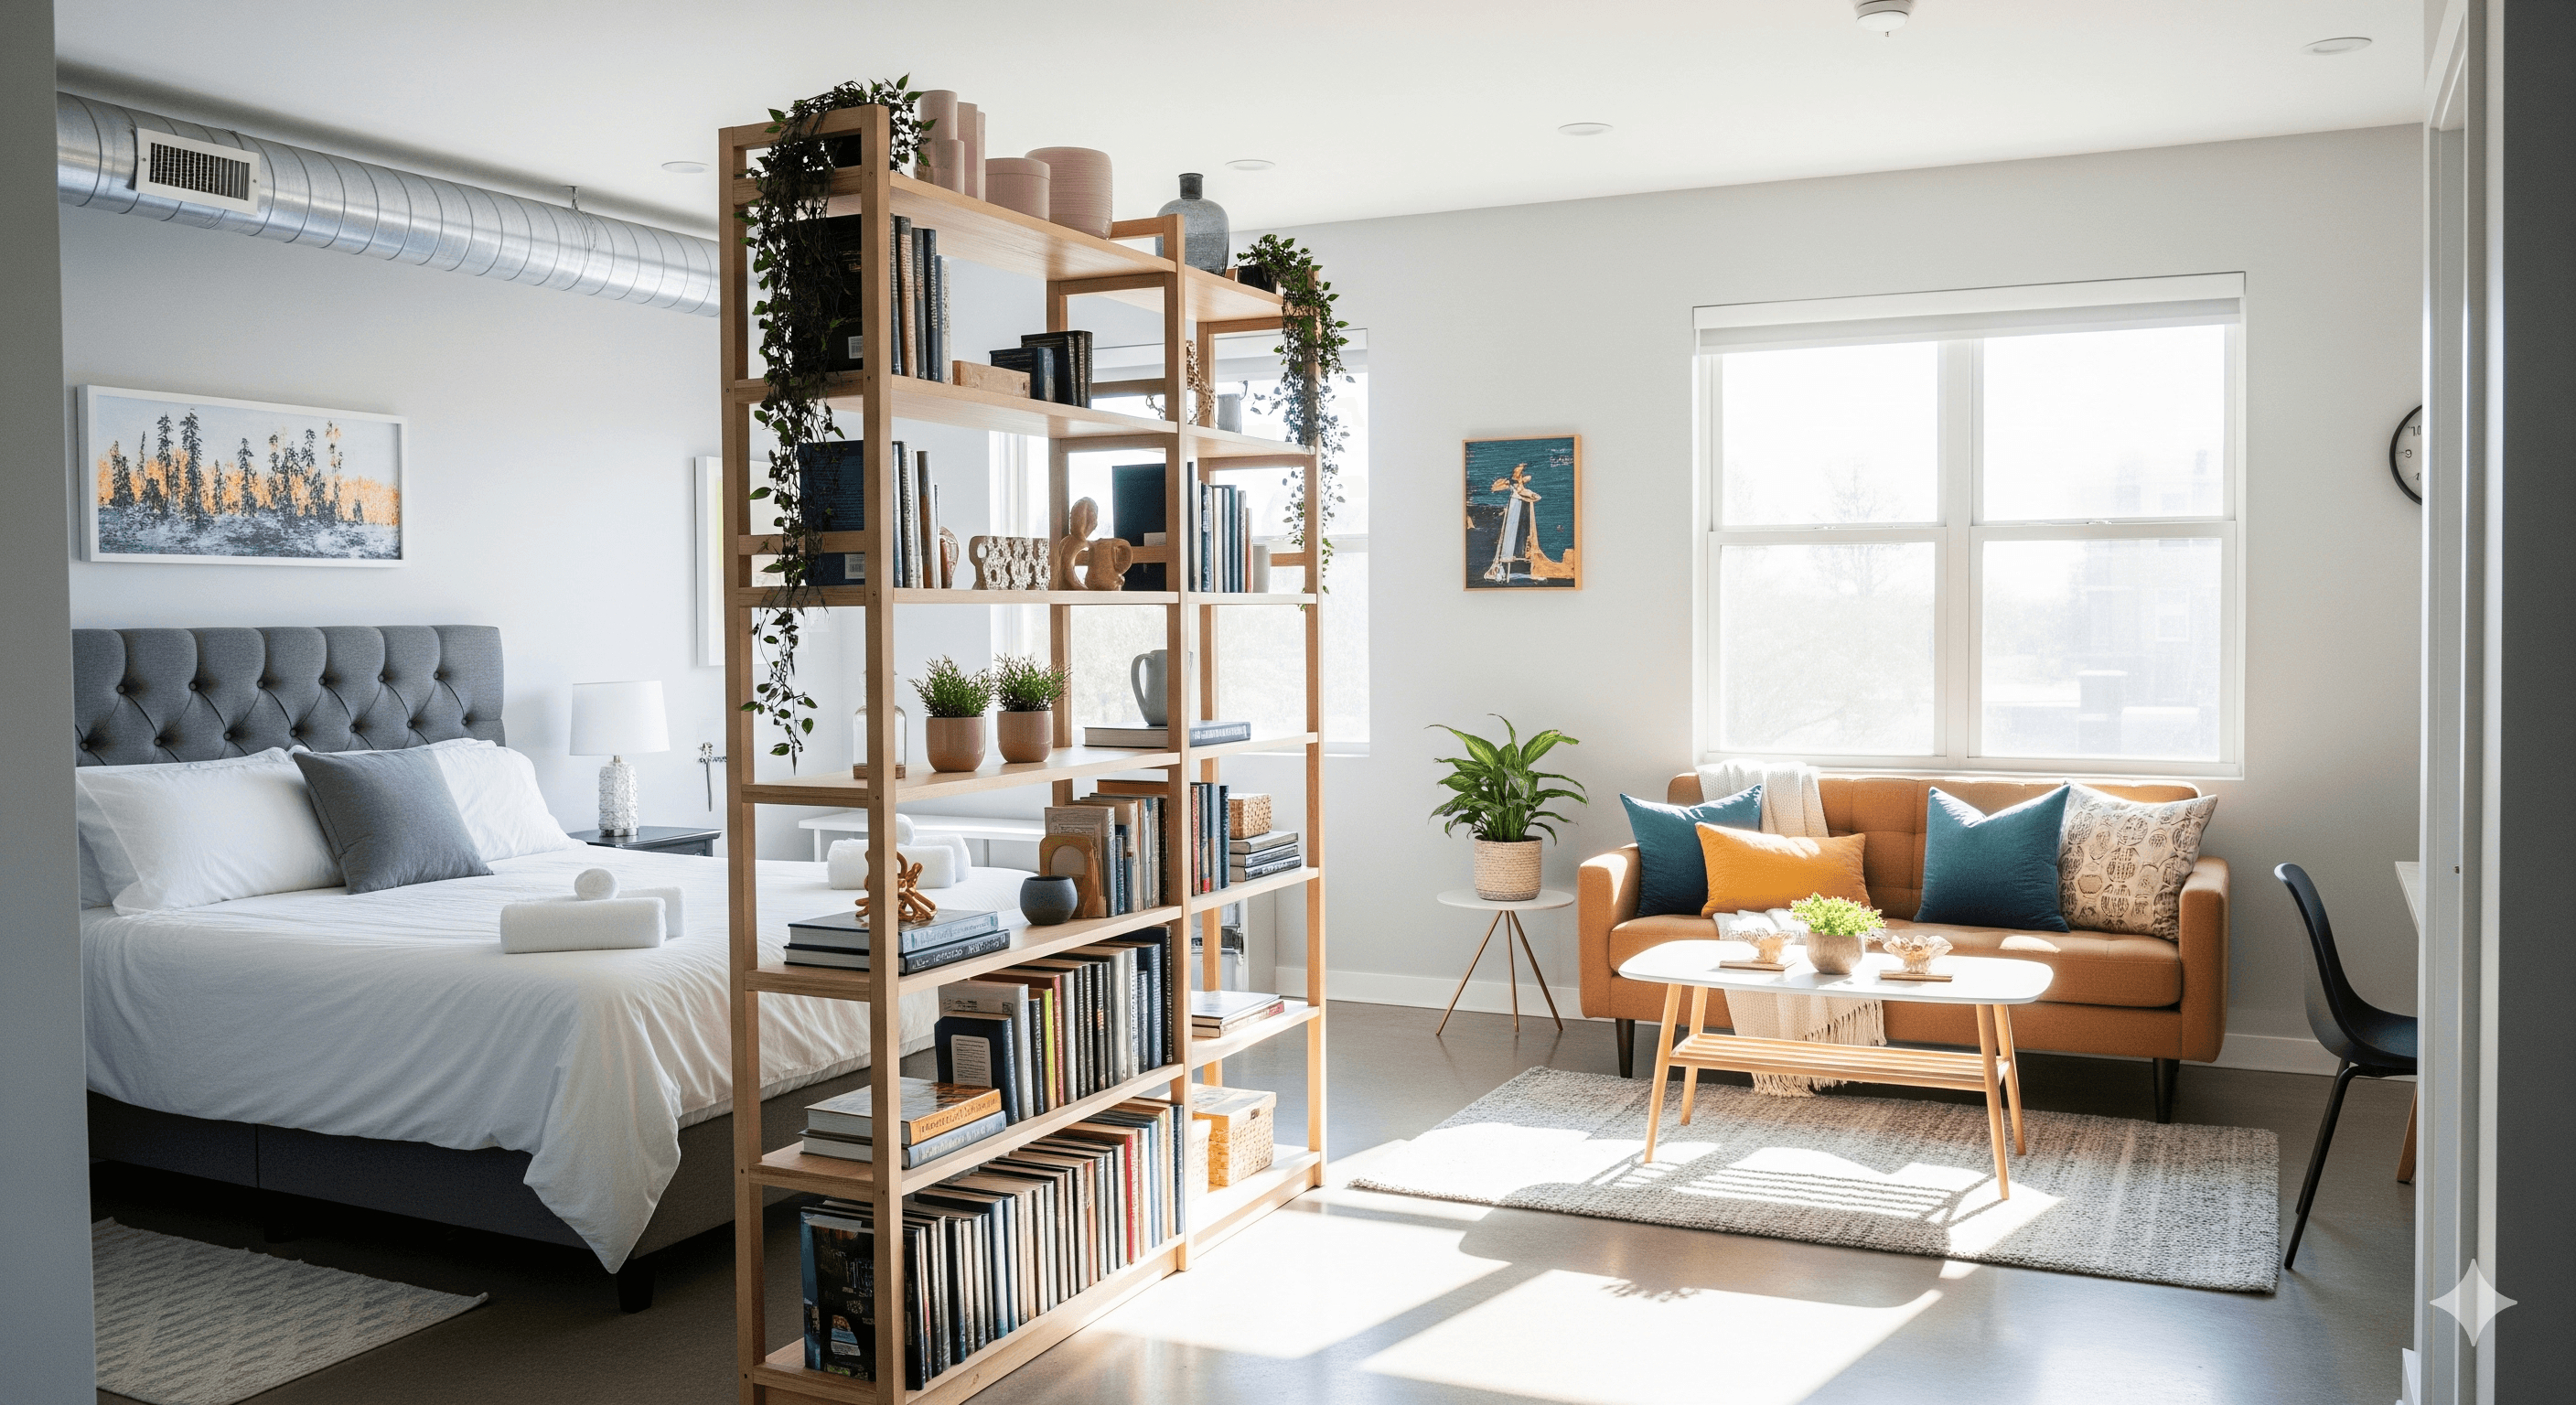
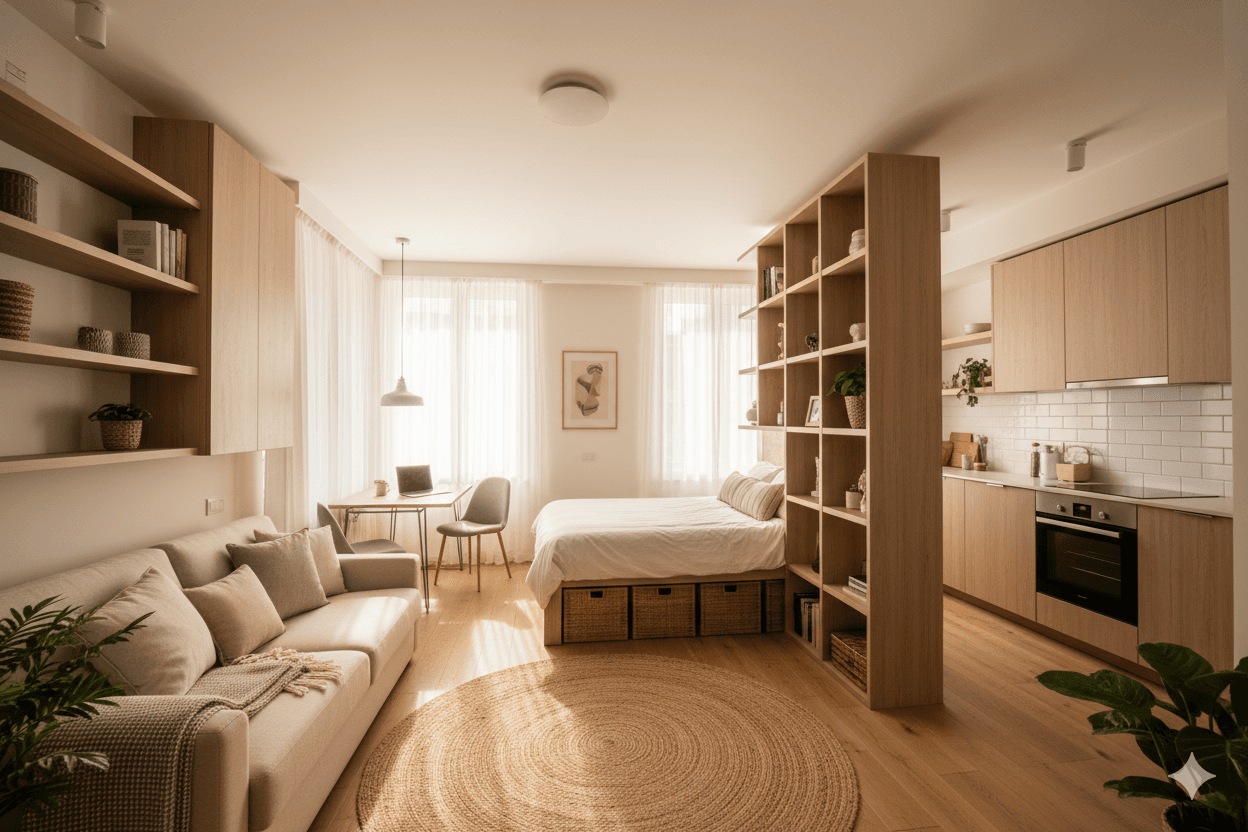
If you're thinking about the whole apartment and not just one room, the studio apartment decorating guide and our piece on making your home look more spacious and bright are the natural next reads.
More from Studio & Small Apartment
Layout, decor, and life in studio and small apartments.
How Do You Decorate a Studio Apartment?
Wondering how to furnish your studio apartment without it feeling cramped? This guide answers your questions with smart ideas for zoning, furniture, and deco...
How to Decorate a Studio Apartment: An Expert's Guide
8 min read
How Do You Decorate a Studio Apartment?
10 min read
The Art of Studio Living: Your Complete Guide
10 min read
How to Layout a Small Apartment?
25 min read
3 Flawless Layouts and 5 Real-Life Studio Solutions
21 min read

How Do You Decorate a One-Bedroom Apartment?
18 min read
Tags

Written by Joesp H.
Interior Design & Small Space Living Specialist
Former marketing manager turned full-time home optimizer. After living in 7 homes ranging from 450 to 2,000 sq ft, I started CleverSpaceSolutions to help people create organized, functional spaces on real budgets.
Other Articles
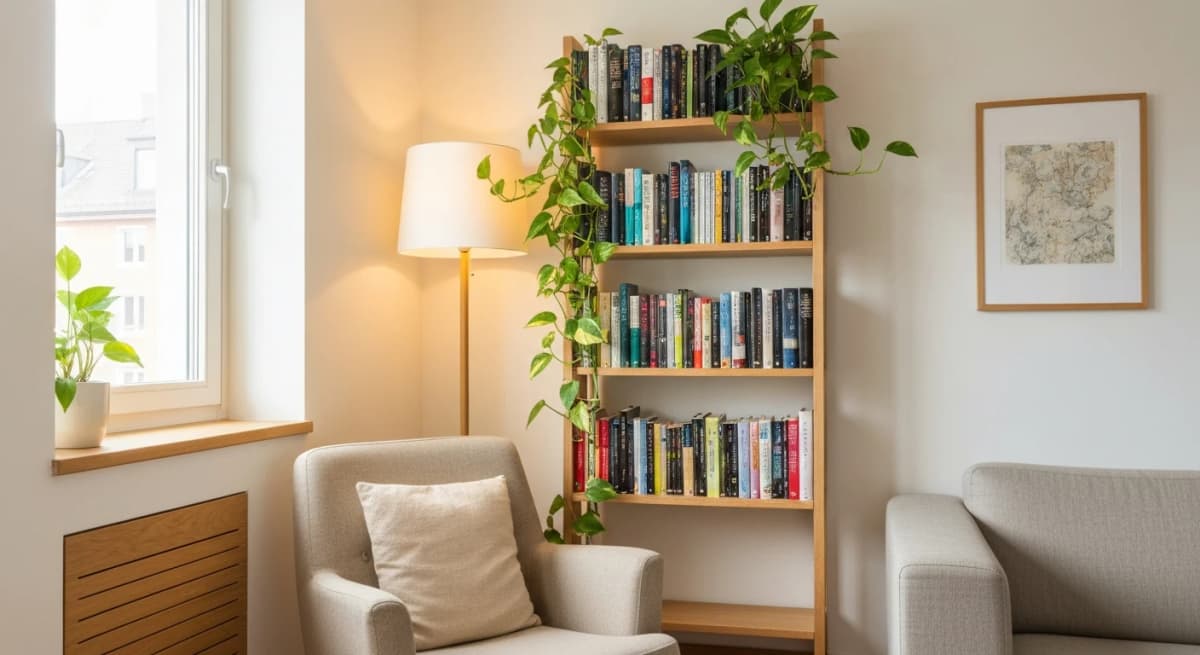
How to Create a Cozy Reading Nook in a Small Apartment (No Spare Room Required)
Create a cozy reading nook in a small apartment with no spare room needed. A chair, a lamp, one shelf — and reading just 6 minutes cuts stress by 68%. Here's how.

How to Layout a Small Apartment?
Need small apartment layout ideas? Our guide answers how to arrange furniture in narrow living rooms (3 plans) & studio apartments (5 plans) to maximize space.
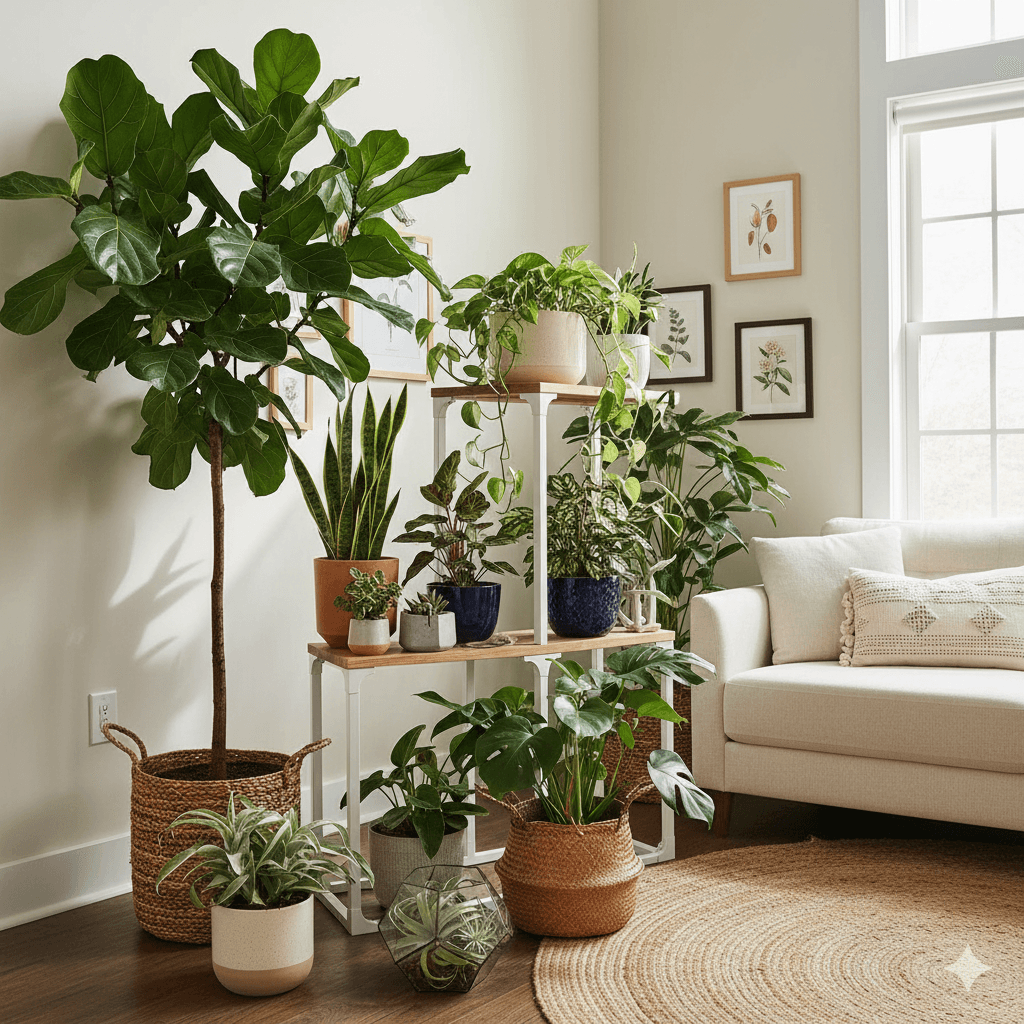
What to Put in an Empty Corner? 10 Genius Ideas
Wondering what to do with that awkward, empty corner? This guide answers with 10 genius ideas, from creating a reading nook to designing a stylish workspace.